
After battling it out with Moose Flu for the past few days, I decided a little pick-me-up to get back on the Card Tricks track was in order. Enter this bright and cheery little thank you card, complete with polka dots on a pretty pink background.
This card was hand cut with a stocking stuffer Moose (the husband - see this post for the reason why) gave me this year, a Slice Precision Paper Cutter with ceramic blade. It took me some time to get used to using this knife, but I can already tell that it is going to have a prominent place in my toolbox from now on.
Supplies:
· Sheet of 8 1/2” x 11” pink card stock
· Sheet of 8 1/2” x 11” white text paper
· Piece of polka dot patterned card stock (big enough to cover the words “Thank You” on the front of your card – I used a 4” x 3” piece)
Equipment:
· Computer
· Printer
· Paper trimmer
· Bone folder
· Pencil
· Cutting mat
· Utility/craft knife
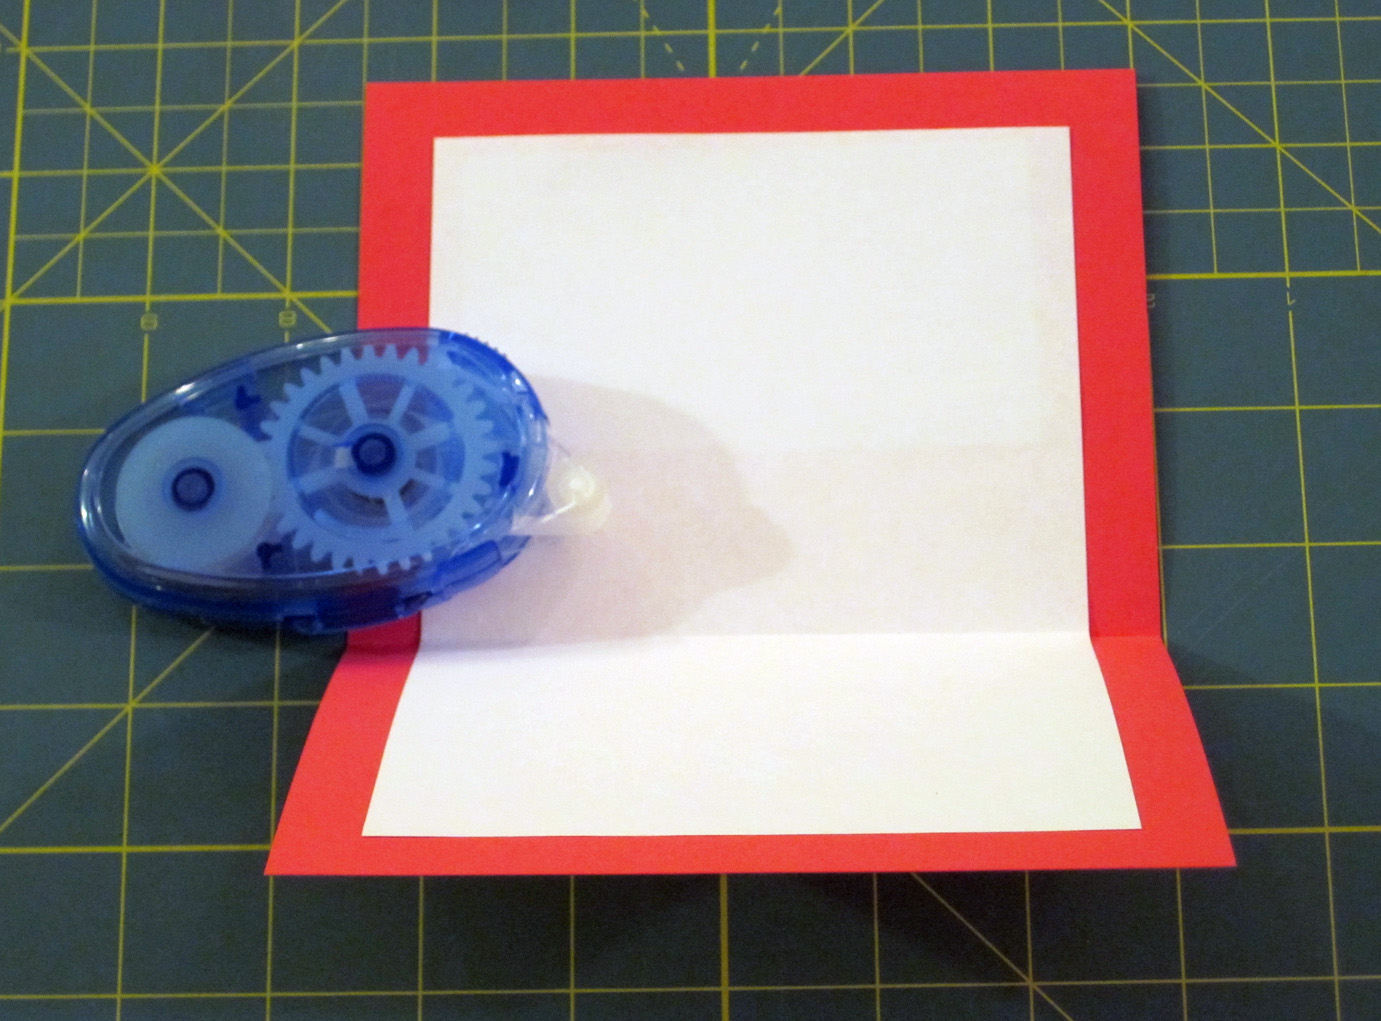
· Glue runner
· Glue stick
Directions:
1. Open a new document in Word or a design layout program. Create a text box in the upper left hand corner, no bigger than 4 1/2” x 3 1/4”. Type in the words “Thank You” in a blocky, simple font (I used Verdana, but any sans serif font will do). Centre the text and resize it to fit the box. Print the document on to the white text paper.

2. Trim the white paper to create a box around the text, with about 1/2” to 1” white space around the text. Trim the rest of the paper to create a card liner, measuring 4 1/2” x 7 1/2”.
3. Cut the pink card stock in half with the paper trimmer to get two pieces, measuring 5 1/2 x 8 1/2”. Put one away with your other scraps to be used in future projects.
4. Use the bone folder to fold the other piece of pink card stock into a 4 1/4” x 5 1/2” card. Fold the card liner in half as well.
5. Open the pink card stock and place on a cutting mat. Centre the “Thank You” text on the front panel of the card. Use a pencil to trace around the letters so that you end up with impressions of the letters on the pink card stock.

6. Use the knife to carefully cut out the letters, using the impressions as guides. Remember to cut out the centres of the letters “a” and “o”. Set them aside in a safe place so that you can easily find them later.


7. Position the patterned card stock on the inside of the front panel with the pattern showing through the cut out letters. Move the card stock around until you are happy with the way the pattern is showing through. Use the glue runner to attach the patterned card stock in place (be careful to not put glue where the cut out letters are – the glue may be transparent, but it will remain tacky).

8. Glue the centres of the “a” and the “o” in their positions on the front of the card.

9. Attach the card liner to the inside of the card with the glue runner (technique here).
As you can see, I didn’t worry about tracing or cutting out the letters perfectly. I thought it looked better with a little bit of freehand. You can be as precise or carefree as you like, depending on what look you like best.
That’s all for today, folks! Hope you all are having a wonderful year so far. See you on Friday!
No comments:
Post a Comment