Key to my heart card and gift bag
It’s the first post of February and time to get back on the countdown to Valentine’s Day. Today, we have a card and gift bag combo, great for surprising that special someone this February 14.
Supplies:
· Two sheets of 8 1/2” x 11” red card stock
· Sheet of 8 1/2” x 11” white text weight paper
· Scrap of coordinating patterned card stock, measuring at least 4” x 6”
Equipment:
· Computer
· Printer
· Paper trimmer
· Bone folder
· Embossing stylus (optional)
· Pencil
· Scissors
· Craft knife
· Metal-edged ruler
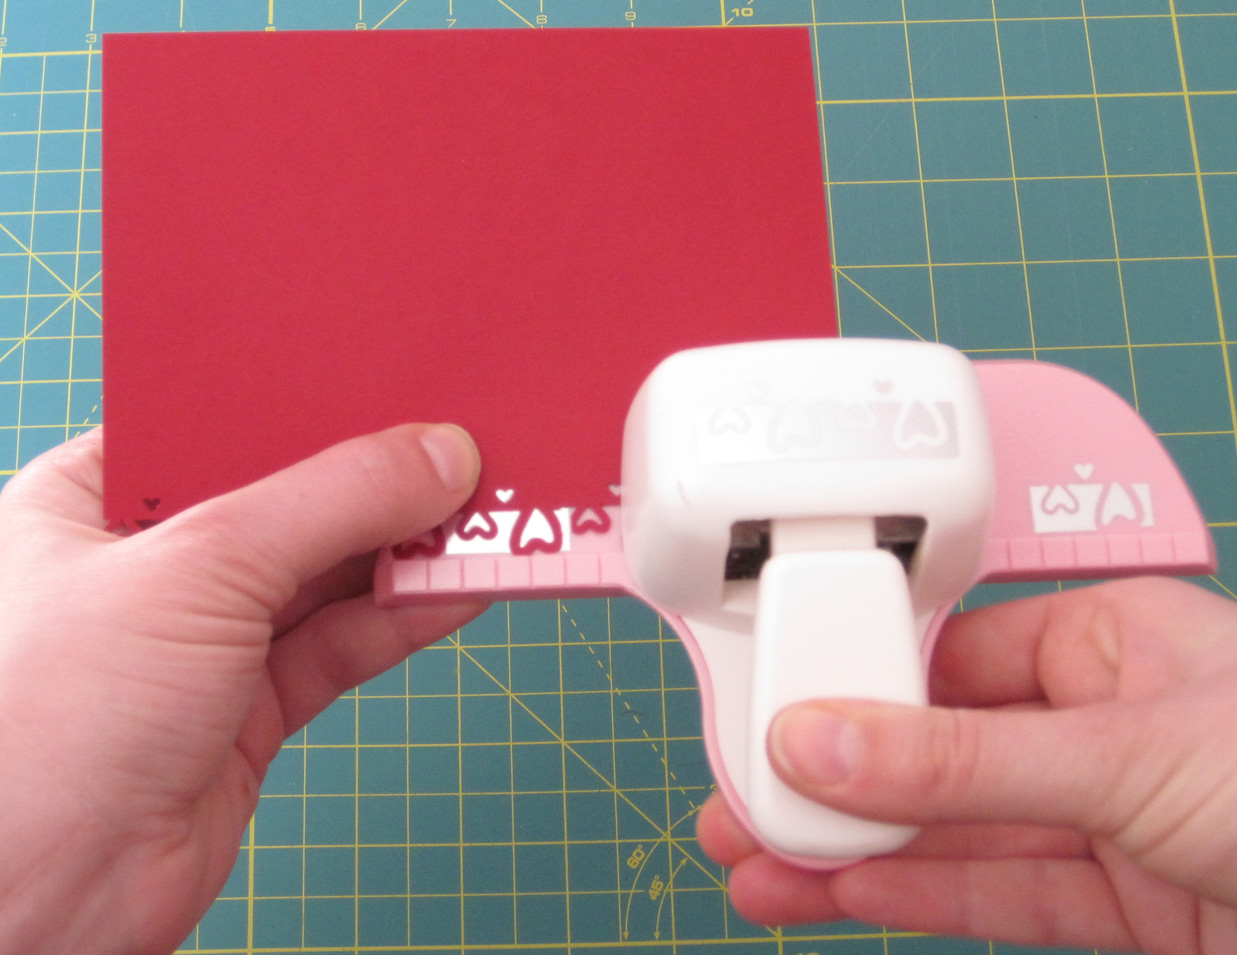
· Mini heart paper punch
· Glue stick
· Glue runner
· Decorative edged scissors (I used the “double bubble” ones)
· Wax paper
· Heavy book for pressing
Directions:
1. Using a design program, create an 11” x 8 1/2” (letter-sized) document in landscape layout with 1/2” margins. Insert a heart shape (measuring no bigger than 5 1/4” wide x 4” tall), two key images (one 1 1/2” long and one 2” long – I used this image) and the text, “You hold the key to my heart” as shown below. Print the document.
2. Trim one sheet of card stock in half lengthwise with the paper trimmer to get two pieces, measuring 11” x 4 1/4”. Set one aside for future projects.
3. Fold the 11” x 4 1/4” card stock in half to make a 5 1/2” x 4 1/4” card with the bone folder.
4. Turn the card over so that the opening is on the left. Place the heart image over the card, lining it up so that the right edge overlaps the fold a little bit. Using the embossing stylus (or a pencil if you don’t have a stylus) to trace over the heart image to transfer the shape on to the card stock. Cut the card stock with the scissors to create a heart-shaped card (make sure to have the overlap so that you end up with one card that unfolds, not two heart-shaped pieces of card stock).
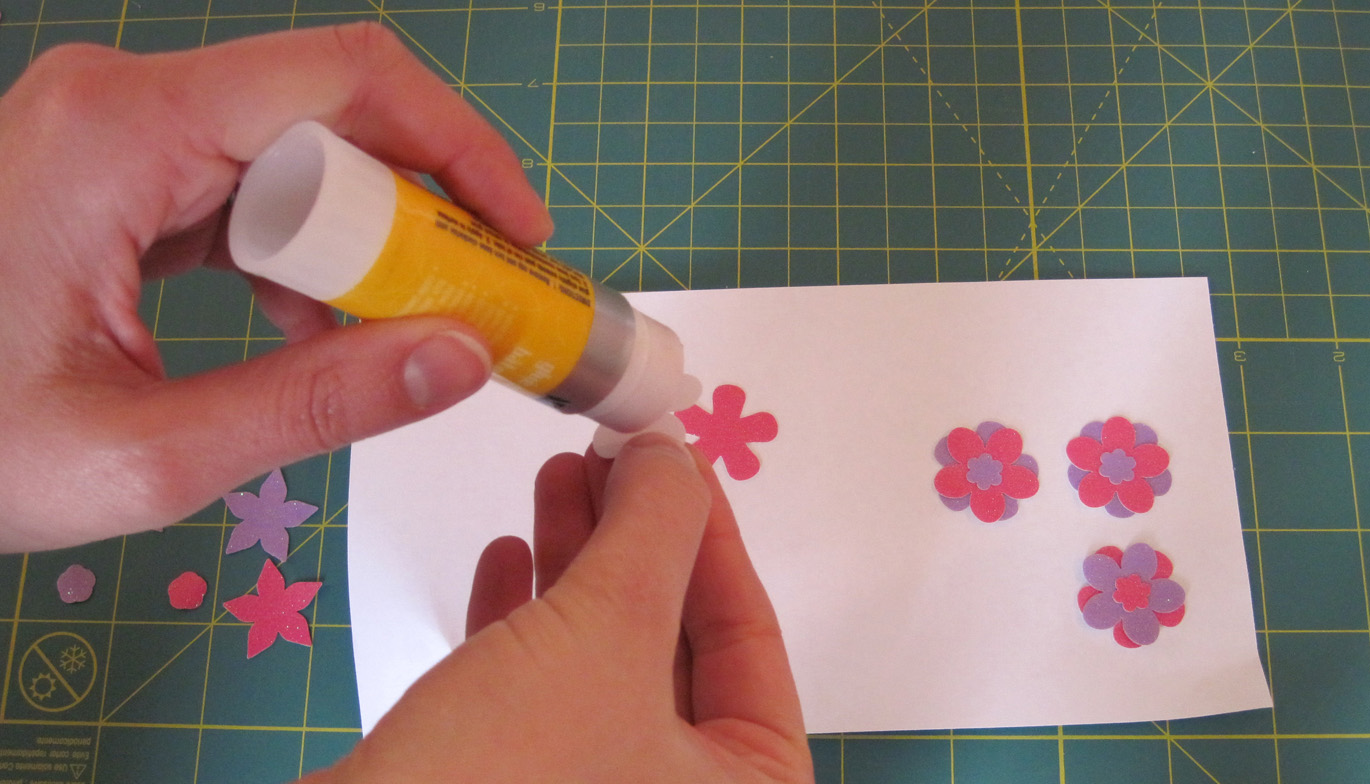
5. Trim the patterned card stock with the decorative edge scissors to get one piece measuring approximately 3” x 1 1/4” and another measuring 2” x 1”.
6. Cut out the key images with the scissors and the craft knife. Cut the individual words of the sentiment into little rectangles with the craft knife and the metal-edged ruler.
7. Punch out six mini hearts from the left over patterned card stock.
8. Glue the key images with the glue stick on to the patterned card stock rectangles. Glue the larger key on to the front of the heart-shaped card. Glue the text above and below the key image. Glue the mini hearts along the sides of the image.
9. Place the wax paper on top of the folded card and press with the book until the glue is dry.
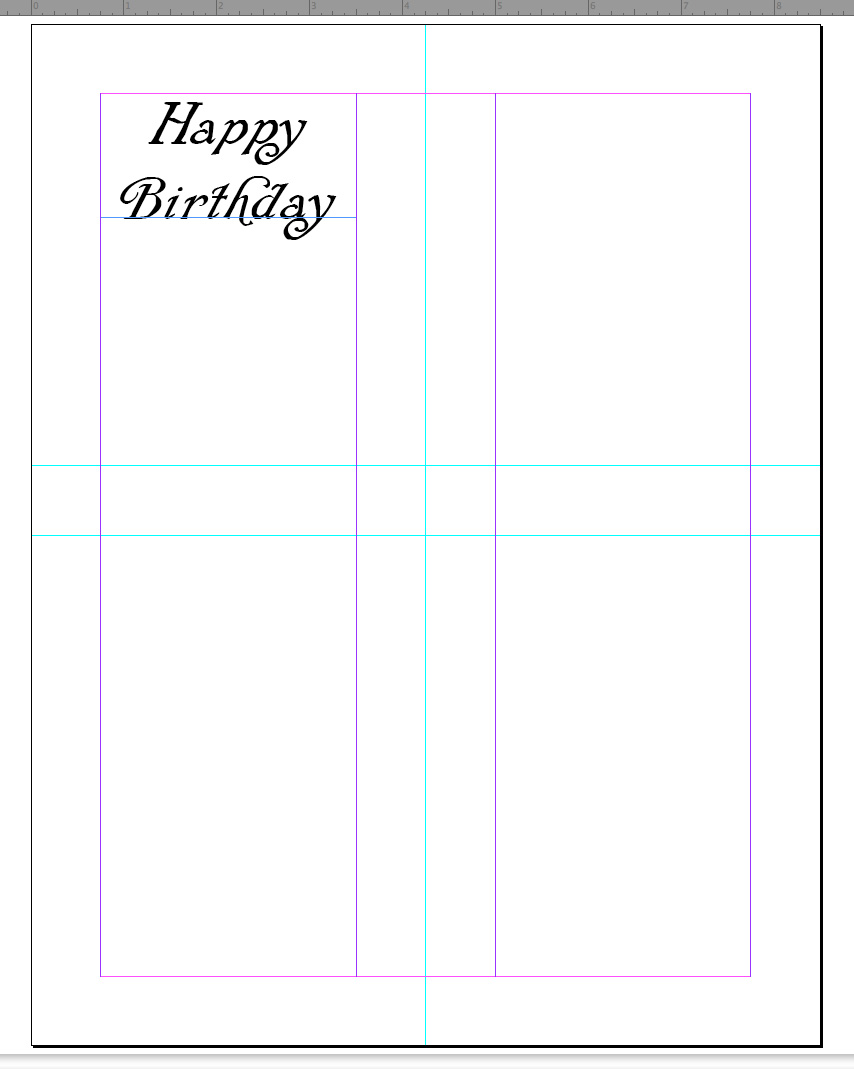
10. Mark the second piece of card stock with guidelines for the bag layout, using the template below.
 |
| Bag template |
11. Cut and score the guidelines, using the template as a guide.
12. Glue the small key image on to one of the large panels of the gift bag (on the opposite side of the pencil marks), centered underneath the handle.
13. Use the technique in step 9 to press the key image on the bag until the glue has dried.
14. Use the glue runner to glue the bag together, using the images below as a guide on how to fold in the panels.
Hope you like this card and gift bag combo. Have a wonderful weekend and I’ll see you next week for the final card in the Valentine’s Day Countdown! See you then!