Showing posts with label Spring. Show all posts

Friday, April 22, 2011

Quick Tricks: Easter Gift Tags


Today, to break tradition a little bit, I will not be providing a tutorial, but rather I thought I’d share with you some cute little gift tags I made for Easter this year, along with a list of the supplies and equipment used to make said tags. The fun of this project is that there aren’t any directions, no rules for making them. Just take a look at the scrap paper, embellishments and equipment you have hanging around and let your creative juices flow!


Supplies:
·      Scrap pieces of paper in spring colours/patterns

Equipment Examples:
·      Spring/Easter themed stamps
·      Stamp ink pads
·      Spring/Easter themed paper punches
·      Hole punch
·      Tag punch
·      Glitter glue
·      Ribbon, stickers or any other coordinating embellishments that you have on hand
·      Curling ribbon (for attaching tags)
·      Scissors
·      Glue stick
·      Anything else you'd like to use


I wish you all a very happy Easter! I hope you all have lots of fun with your family and friends this weekend.

See you next Friday!

Friday, April 8, 2011

Happy Birthday, Carol!


Last week, my mother-in-law celebrated her birthday. Carol is a lovely person. She’s always excited about things and has such a zest for life – it’s pretty inspiring! She’s the one who always wants to find out what’s around the next bend or what’s over the next hill when we’re out walking. She’s incredibly crafty (crafting fairies, knitting, crocheting and felting are her specialties) and she has the most amazing garden with such beautiful plants and flowers.

And so, here is a bold, bright and sparkly flower card to celebrate the day of my mother-in-law’s birth.

Supplies:
·      Sheet of 8 1/2” x 11” bright green card stock
·      Sheet of 8 1/2” x 11” white text paper
·      Scraps of purple and pink glitter card stock (big enough to punch out two flower punch sets from each)

Equipment:
·      Computer
·      Printer
·      Paper trimmer
·      Bone folder
·      Multiple flower punch (see picture in step 5 for example)
·      Glue runner
·      Glue stick

Directions:
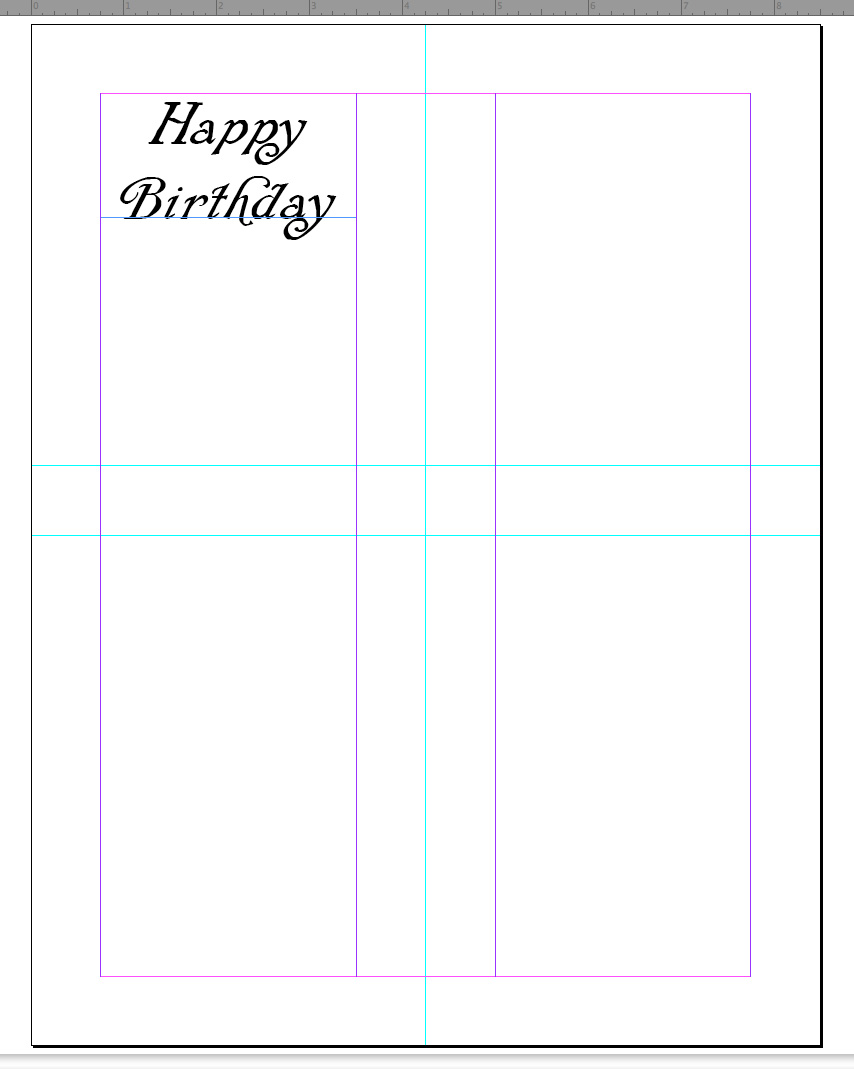
1.     Create a new letter-sized document in a design layout program (or Word) with 1/2” margins. Create a 3 1/4” x 4 1/2” text box in the upper left-hand corner and write in the text, “Happy Birthday” at the top of the box. Centre the text horizontally. Print the document on to the white text paper.


2.     Trim the white text paper with the paper trimmer to create a 3 3/4” x 5” panel. Cut the bright green card stock in half to create two pieces, measuring 5 1/2” x 8 1/2”. Set one aside for future use.

3.     Use the bone folder to fold the bright green card stock into a 4 1/4” x 5 1/2” card.

4.     Attach the white text paper with the “Happy Birthday” sentiment to the front panel of the card with the glue runner.


5.     Punch out two sets of flowers from each scrap of glitter card stock.


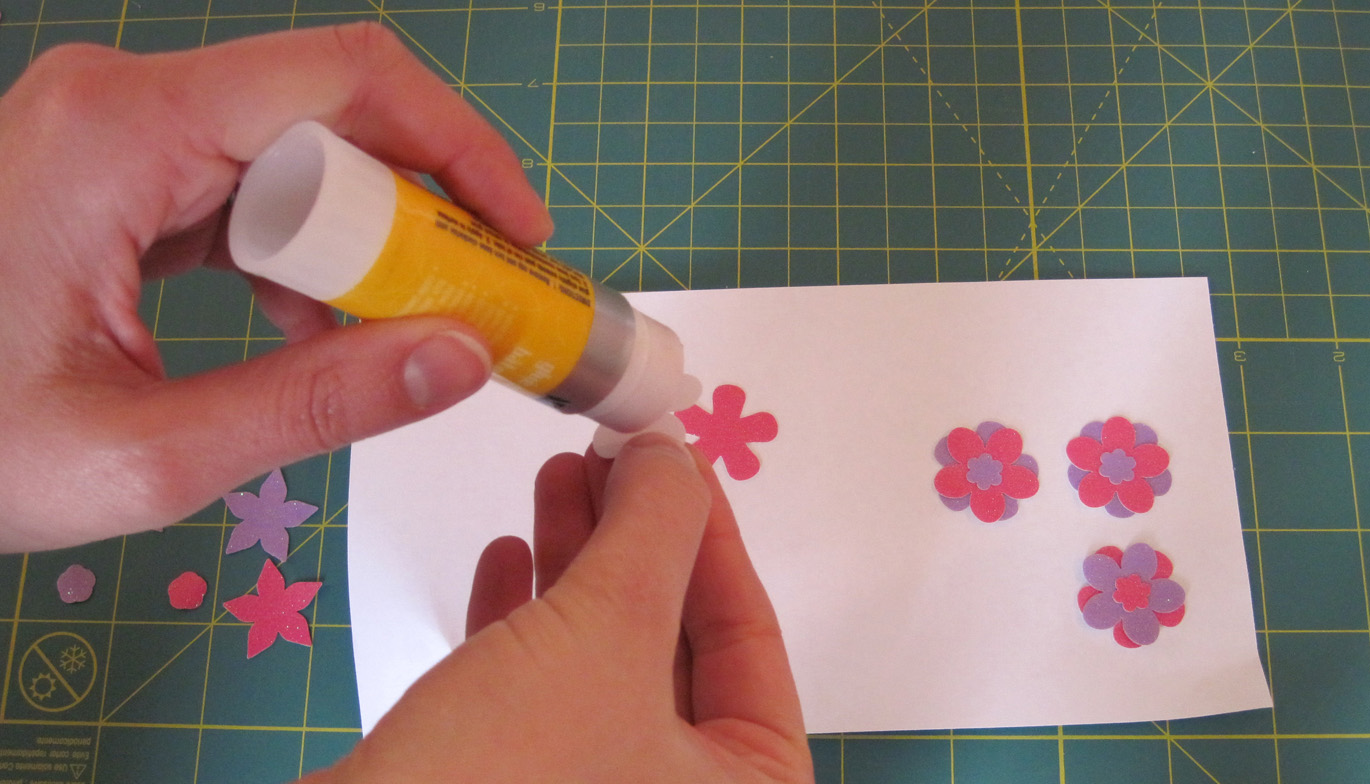
6.     Glue the flower pieces together, alternating the colours.


7.     Glue the finished flowers to the front panel of the card, alternating colours and flower design.


This week was my first week back working full-time (plus a three hour commute, round-trip). I have plans to keep posting, but please be patient with me if I, once in a blue moon, have to skip a week!

Have a wonderful weekend. See you next week!

Friday, March 25, 2011

Spring Inspirations: Butterfly Block Card


Like the contrary little minx she is, Spring teased us earlier this week with bright sunshine and warmish temperatures. Then, of course, Winter reared its dreaded head once more, blanketing the ground with snow (making me quite grumpy when I woke up and observed said snow falling once again). Yes, I know that early spring weather is never predictable and that snow at this time of year is to be expected, I still wish that once the highly anticipated first day of spring rolled around, the weather would magically warm up and stay that way until the winter solstice came round again.

To keep my spirits up while the weather fluctuates, I decided to make the brightest, most springiest card I could think of. And so, here is the butterfly block card. Here’s hoping it brightens up your day as much as it did mine.

Supplies:
  • Sheet of 8 1/2” x 11” blue cardstock
  • Sheet of 8 1/2” x 11” pink cardstock

Equipment:
  • Paper trimmer
  • Bone folder
  • Pencil
  • Metal-edged ruler
  • Craft knife
  • Small butterfly paper punch
  • Glue stick
  • Wax paper
  • Heavy book

Directions:

  1. Use the paper trimmer to cut a 5” x 10” piece of blue card stock. Hold on to the scraps to make the butterflies in step 4.

  1. Fold the 5” x 10” piece of blue card stock into a 5” x 5” card with the bone folder.

  1. Cut a 5” x 5” square of pink card stock with the paper trimmer.

  1. Use the paper punch to make 13 blue butterflies from the scraps in step one.


  1. Open the blue card and mark guidelines for making horizontal cuts 1” apart along the length of the inside left panel.


  1. Use the craft knife and metal-edged ruler to cut along the guidelines from the edge of the card to the fold, creating five 1” wide horizontal strips.


  1. Create guidelines for cutting the pink square of card stock into five strips. Make each strip slightly smaller than 1” wide (you’ll have a narrow strip of card stock left after you cut the strips) since you won’t be able to fit all the strips in if you leave them the full 1” width, no matter how tight you are able to make the weave. Use the guidelines to cut the pink square into five strips.


  1. Close the card. Take the first strip of pink card stock and weave it into the left side of the front panel (right up against the fold) to create a checkerboard pattern with a pink square starting the pattern. Glue the strip into place.

  1. Continue weaving and gluing until all the strips are in place.


  1. Trim the edges of the card with the paper trimmer as needed.

  1. Glue the blue butterflies on to the middle of each pink square.

  1. Place the piece of wax paper on top of the closed card. Put the book on top and press until the glue is dry.

That’s all for today, folks! Have a great weekend (here’s hoping that it will be sunny and beautiful!) and I’ll see you next week.