Due to a really crappy week and a total lack of inspiration, there will be no post today. Sorry, internets! I'll be back next week with a fresh new post to knock your socks off, I promise!
In the meantime, please enjoy this video of two baby elephants playing in a kiddie pool (just 'cause it makes me squee everytime I see it!).
Friday, April 29, 2011
Friday, April 22, 2011
Quick Tricks: Easter Gift Tags

Today, to break tradition a little bit, I will not be providing a tutorial, but rather I thought I’d share with you some cute little gift tags I made for Easter this year, along with a list of the supplies and equipment used to make said tags. The fun of this project is that there aren’t any directions, no rules for making them. Just take a look at the scrap paper, embellishments and equipment you have hanging around and let your creative juices flow!

Supplies:
· Scrap pieces of paper in spring colours/patterns
Equipment Examples:
· Spring/Easter themed stamps
· Stamp ink pads
· Spring/Easter themed paper punches
· Hole punch
· Tag punch
· Glitter glue
· Ribbon, stickers or any other coordinating embellishments that you have on hand
· Curling ribbon (for attaching tags)
· Scissors
· Glue stick
· Anything else you'd like to use

I wish you all a very happy Easter! I hope you all have lots of fun with your family and friends this weekend.
See you next Friday!
Friday, April 15, 2011
An egg-cellent time of year

At long last, Easter is once again upon us. It’s one of my favourite holidays. After all, Easter is the holiday that welcomes spring, with plenty of pretty spring flowers, cute and cuddly holiday icons (who doesn’t like bunnies and little fuzzy chicks?!) and lots of yummy, yummy chocolate to be had.
A holiday this wonderful deserves a sparkly and pretty card to celebrate it, so of course, I just had to dig out the leftover white glitter foam scraps from December’s snowman card to make this shiny Easter egg card to mark the occasion.
Supplies:
· Sheet of 8 1/2” x 11” purple card stock
· Rectangle of white text paper, measuring 3 3/4” x 5”
· Rectangle of white glitter foam (with sticky back), measuring approximately 3 1/2” x 4 3/4”
· Scraps of pink and blue card stock
Equipment:
· Paper trimmer
· Bone folder
· Glue runner
· Pencil
· Scissors
· Small circle paper punch (about 1/2” diameter)
· Hot glue gun
Directions:
1. Use the paper trimmer to cut the purple card stock in half to get two pieces, measuring 5 1/2” x 8 1/2”. Set one aside for future projects.
2. Fold the remaining piece of purple card stock in half with the bone folder to get a 4 1/4” x 5 1/2” card.
3. Attach the white text paper rectangle to the inside right panel of the card with the glue runner.

4. Trace an outline of an egg on the back of the white glitter foam rectangle, using as much of the space as possible. Cut out the egg shape.


5. Peel off the sticky backing on the foam and attach the egg to the front panel of the purple card.

6. Take the pink and blue card stock scraps and punch out eight pink circles and six blue circles.
7. Use the glue gun to attach the pink and blue circles to the front of the egg.

I hope you’ve enjoyed today’s card. Have a fabulous weekend and I’ll see you next week!
Friday, April 8, 2011
Happy Birthday, Carol!

Last week, my mother-in-law celebrated her birthday. Carol is a lovely person. She’s always excited about things and has such a zest for life – it’s pretty inspiring! She’s the one who always wants to find out what’s around the next bend or what’s over the next hill when we’re out walking. She’s incredibly crafty (crafting fairies, knitting, crocheting and felting are her specialties) and she has the most amazing garden with such beautiful plants and flowers.
And so, here is a bold, bright and sparkly flower card to celebrate the day of my mother-in-law’s birth.
Supplies:
· Sheet of 8 1/2” x 11” bright green card stock
· Sheet of 8 1/2” x 11” white text paper
· Scraps of purple and pink glitter card stock (big enough to punch out two flower punch sets from each)
Equipment:
· Computer
· Printer
· Paper trimmer
· Bone folder
· Multiple flower punch (see picture in step 5 for example)
· Glue runner
· Glue stick
Directions:
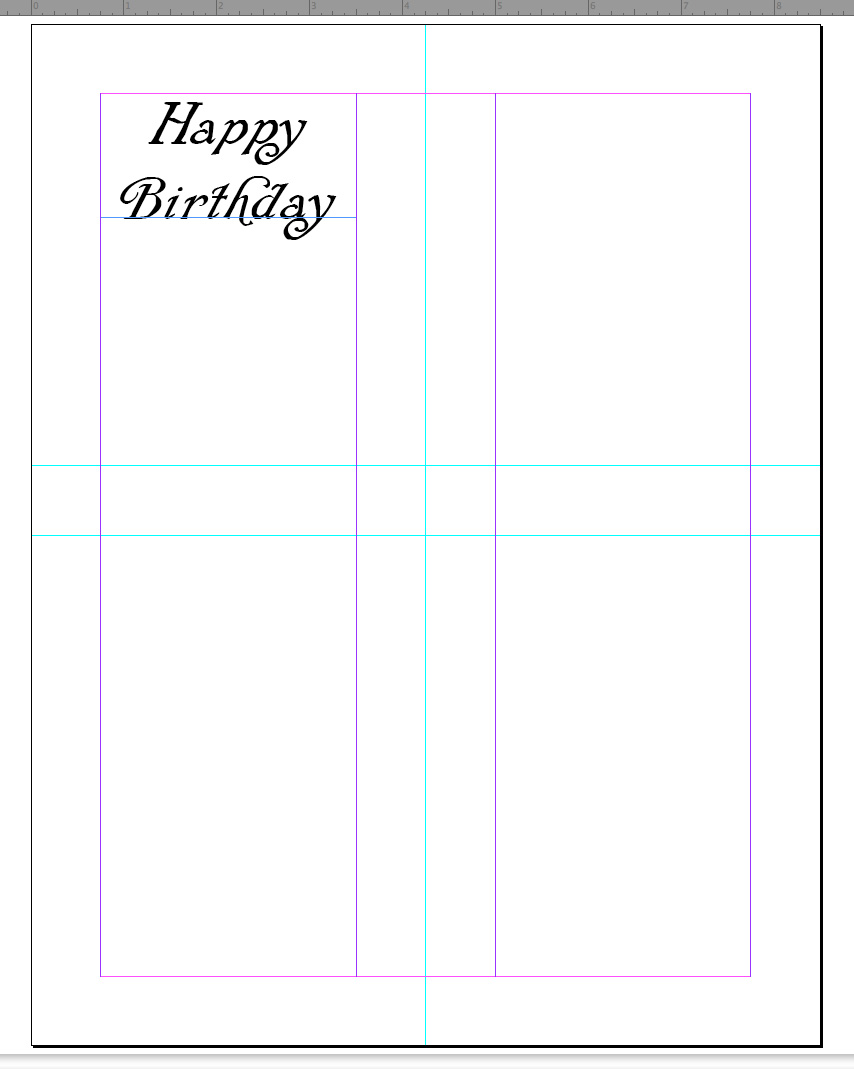
1. Create a new letter-sized document in a design layout program (or Word) with 1/2” margins. Create a 3 1/4” x 4 1/2” text box in the upper left-hand corner and write in the text, “Happy Birthday” at the top of the box. Centre the text horizontally. Print the document on to the white text paper.
2. Trim the white text paper with the paper trimmer to create a 3 3/4” x 5” panel. Cut the bright green card stock in half to create two pieces, measuring 5 1/2” x 8 1/2”. Set one aside for future use.
3. Use the bone folder to fold the bright green card stock into a 4 1/4” x 5 1/2” card.
4. Attach the white text paper with the “Happy Birthday” sentiment to the front panel of the card with the glue runner.

5. Punch out two sets of flowers from each scrap of glitter card stock.


6. Glue the flower pieces together, alternating the colours.
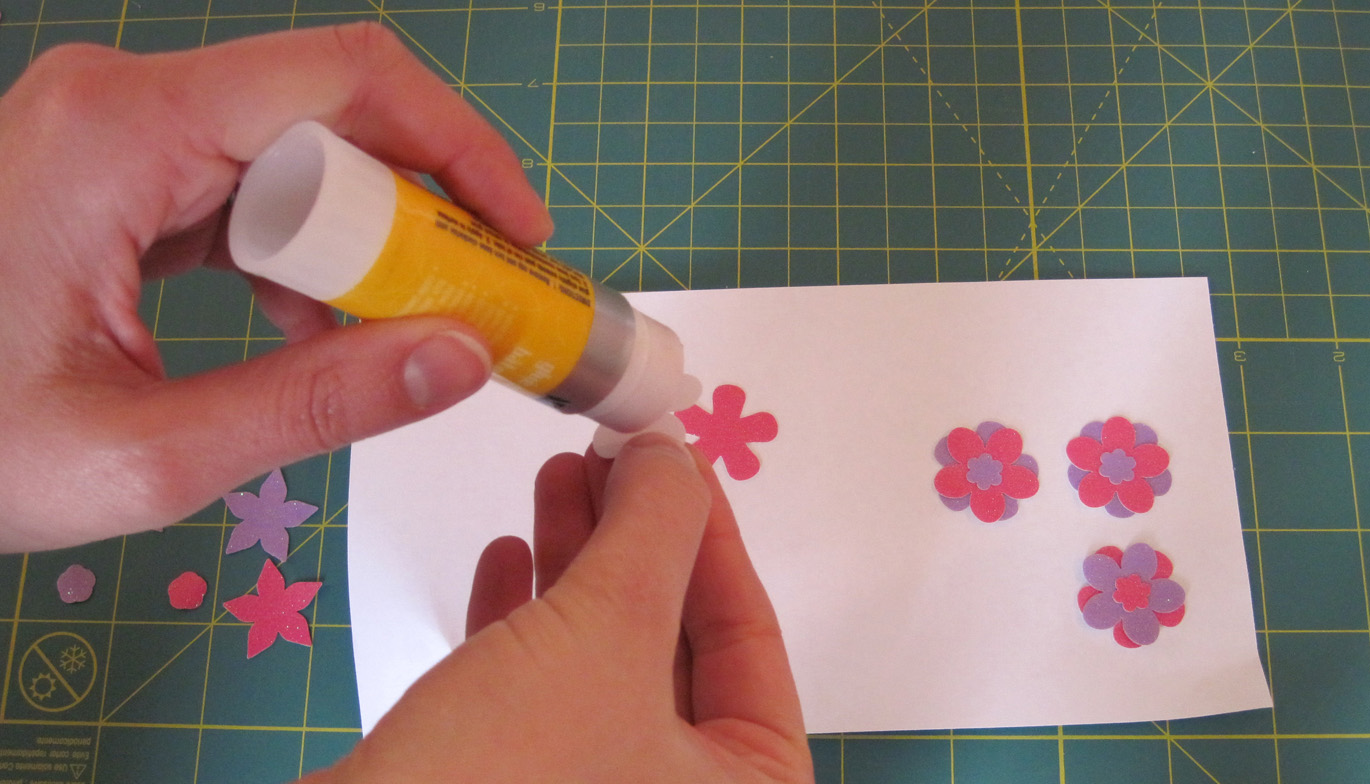

7. Glue the finished flowers to the front panel of the card, alternating colours and flower design.

This week was my first week back working full-time (plus a three hour commute, round-trip). I have plans to keep posting, but please be patient with me if I, once in a blue moon, have to skip a week!
Have a wonderful weekend. See you next week!
Friday, April 1, 2011
Happy birthday, Dad!

Today is my Dad’s birthday. Word cannot express how wonderful he is. He’s always been there for me, whether it was helping a four-year-old me unlock the shed door so I could go and play with the Barbie house when my older sisters weren’t around, or walking me through my very first house purchase when I was 21. He’s bolstered my self-esteem when I was down, congratulated me on my achievements when I was on top of the world and walked me down the aisle when I married the man of my dreams.
My Dad is a farmer. He’s big, tall and strong – so much so that when I said my Dad could beat other dads up, I wasn’t lying (not that he would, but he certainly could!). He has farmer’s hands. You know the ones, big and always showing traces of grease, no matter what. As a kid, I used to watch him working in his shop, sometimes handing him tools (I still am terrible at remembering which tool is which, so I don’t know how helpful I really was) and observing him work his magic to get the farm equipment running again.
Recently, I borrowed some Paper Crafts magazines from our local library and came across a series of Father’s Day cards that used nails, washers and nuts. I thought that idea was brilliant and so perfect for my Dad, so I came up with this design for his birthday card.
Supplies:
· Sheet of 8 1/2” x 11” light beige card stock
· Strip of 3” x 5 1/2” patterned card stock in coordinating colours
· Sheet of 8 1/2” x 11” white text paper
· Four (or more, if you wish) washers (two large and two small – I used 7mm and 10mm)
Equipment:
· Computer
· Printer
· Paper trimmer
· Bone folder
· Glue runner
· Hot glue gun and glue stick
Directions:
1. Open a new letter-sized document in a design layout program. Create a text box (about 2 1/2” wide) with the sentiment, “HAPPY BIRTHDAY” written in it. Print the document.

2. Use the paper trimmer to cut the light beige card stock in half to get two pieces, each measuring 5 1/2” x 8 1/2”. Set one aside for future projects. Cut out the “HAPPY BIRTHDAY” sentiment, leaving a small border around the text.
3. Fold the piece of light beige card stock in half to make a 4 1/4” x 5 1/2” card.
4. Attach the “HAPPY BIRTHDAY” sentiment in the middle of the strip of patterned card stock with the glue runner. Glue the patterned card stock strip to the card, centering it vertically.

5. Using the hot glue gun, carefully glue the washers on to the card in the pattern of your choice.

Enjoy your April Fools’ Day and the coming weekend, everyone. See you next week!
Subscribe to:
Posts (Atom)